Using tree to List Directories and Files
15 July, 2025
It’s been a while since I shared a command line tip, so I thought it was time for another. In this tip, let’s look at the tree command.
If you’re at the command line and want to get a listing of files and folders, you’d usually run the ls command. However, you can get a more detailed view of files and folders with tree.
tree gives you a visual representation of the directory structure, making it easier to understand how your files and folders are organized. You can use it, for example, to visualize the structure of directories and subdirectories.
Basic Usage
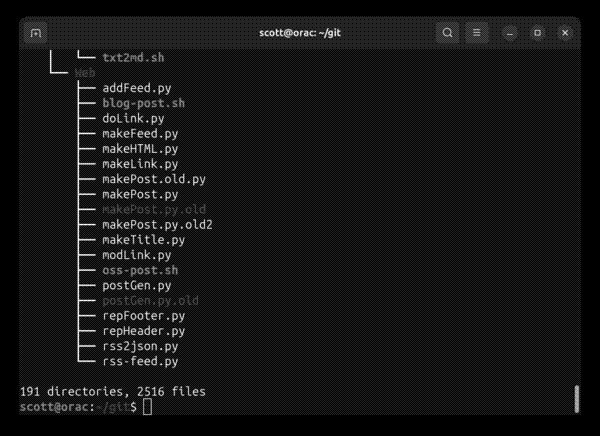
To run the command, open a terminal window, navigate to a directory, and then type tree. You get something that looks like this:
If the output is too long, use | more to break it up, like this:
tree | more
Here’s what that looks like:
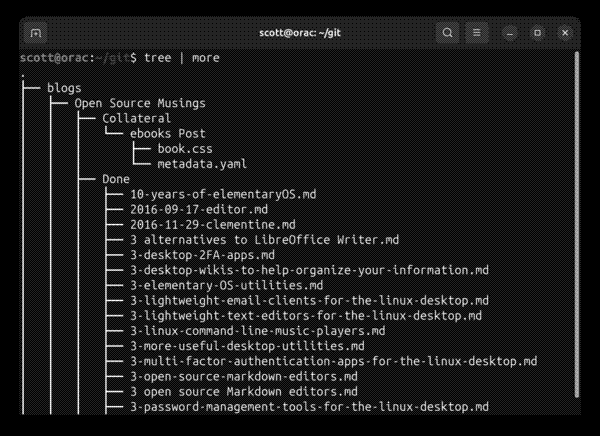
Press a key on your keyboard (the spacebar is my preferred key in this case) to move forward.
Other Options
Let’s look at a few tree’s other options. These are the ones that I find most useful. Your mileage may vary.
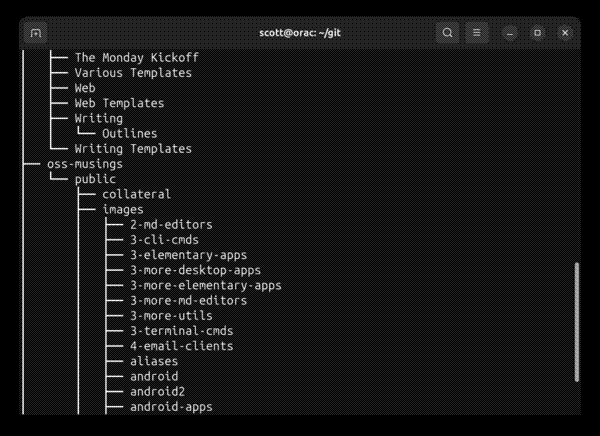
Add the -d option, as shown below, to list only directories.
tree -d
Do this when you only need to see a directory and its subfolders, and not individual files. Here’s an example:
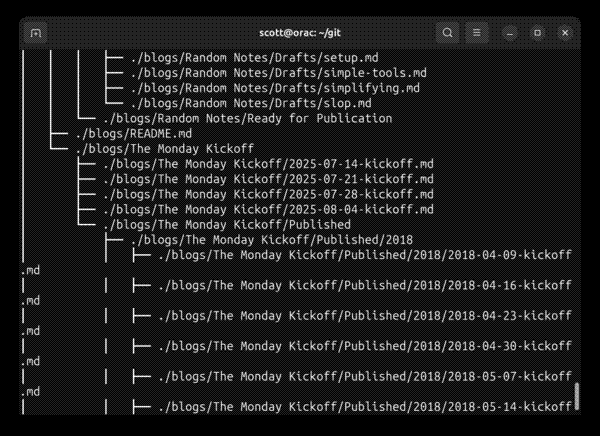
To include full paths in the output, use the -p option, like this:
tree -p
That results in:
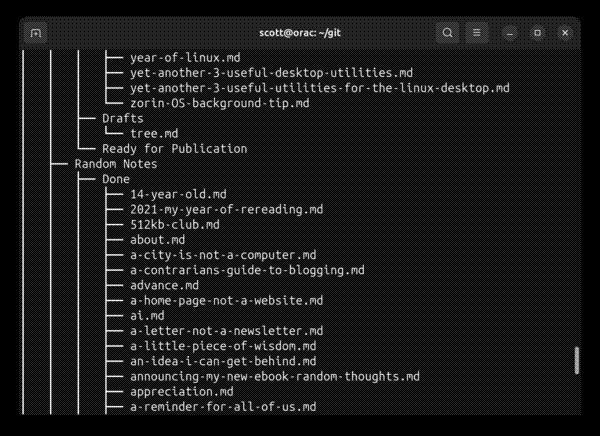
The -P [pattern] option list only certain files that match a specific pattern. Use this option to filter the output based on file types or naming conventions.
For example, if you type this:
tree -P "*.md"
tree lists only files with the extension .md. In the example above, *.md is the pattern.
Here’s what that looks like:
You can sort what tree spits out by the time it was last modified using the -t option, as shown below.
tree -t
When I use the -t option, the most-recently modified files appear at the bottom of listing. I’m not sure if that’s the option’s default behaviour or if there’s a way of changing that.
That’s not everything that tree can do. To learn more about tree’s capabilities, see the documentation.